Friday 26 September 2014

Foodie Friday: Chocolate Arts


Happy Foodie Friday Friends! I hope your week went well. Do you have a sweet tooth?? If you do, you are in luck because we are headed to "Chocolate Arts" today! Let's check it out below. 


Behind the chocolate display case, there is a window that says "Our Artists" on it. Behind it you can slightly see the chocolate creators through the words. Very artistic!


Mmmm... boxes & boxes full of chocolates!!


On the side wall, there are tons of different gifts you can purchase for your friends & family. There are chocolate bowls filled with a variety of chocolate pieces, spreads, bulk chocolate & more!


Not only does Chocolate Arts have chocolate but they also serve coffee, sandwiches, salads & more.


When you purchase the chocolate pieces, they are sold by weight. You can also make customized boxes filled with chocolates that suits your taste!


Hubby & I came for not only their chocolates but for their ice cream bars as well! I love how simple & clean the packaging looked like. The ice cream was wrapped with parchment paper.


"Madagascar vanilla bean ice cream bar" 
- handcrafted
- avalon dairy cream & free range eggs
- decadent brownie base
- dark chocolate coating

If you love the taste of a rich brownie & dark chocolate, you will love this ice cream bar! The vanilla ice cream was definitely an accent in this bar.


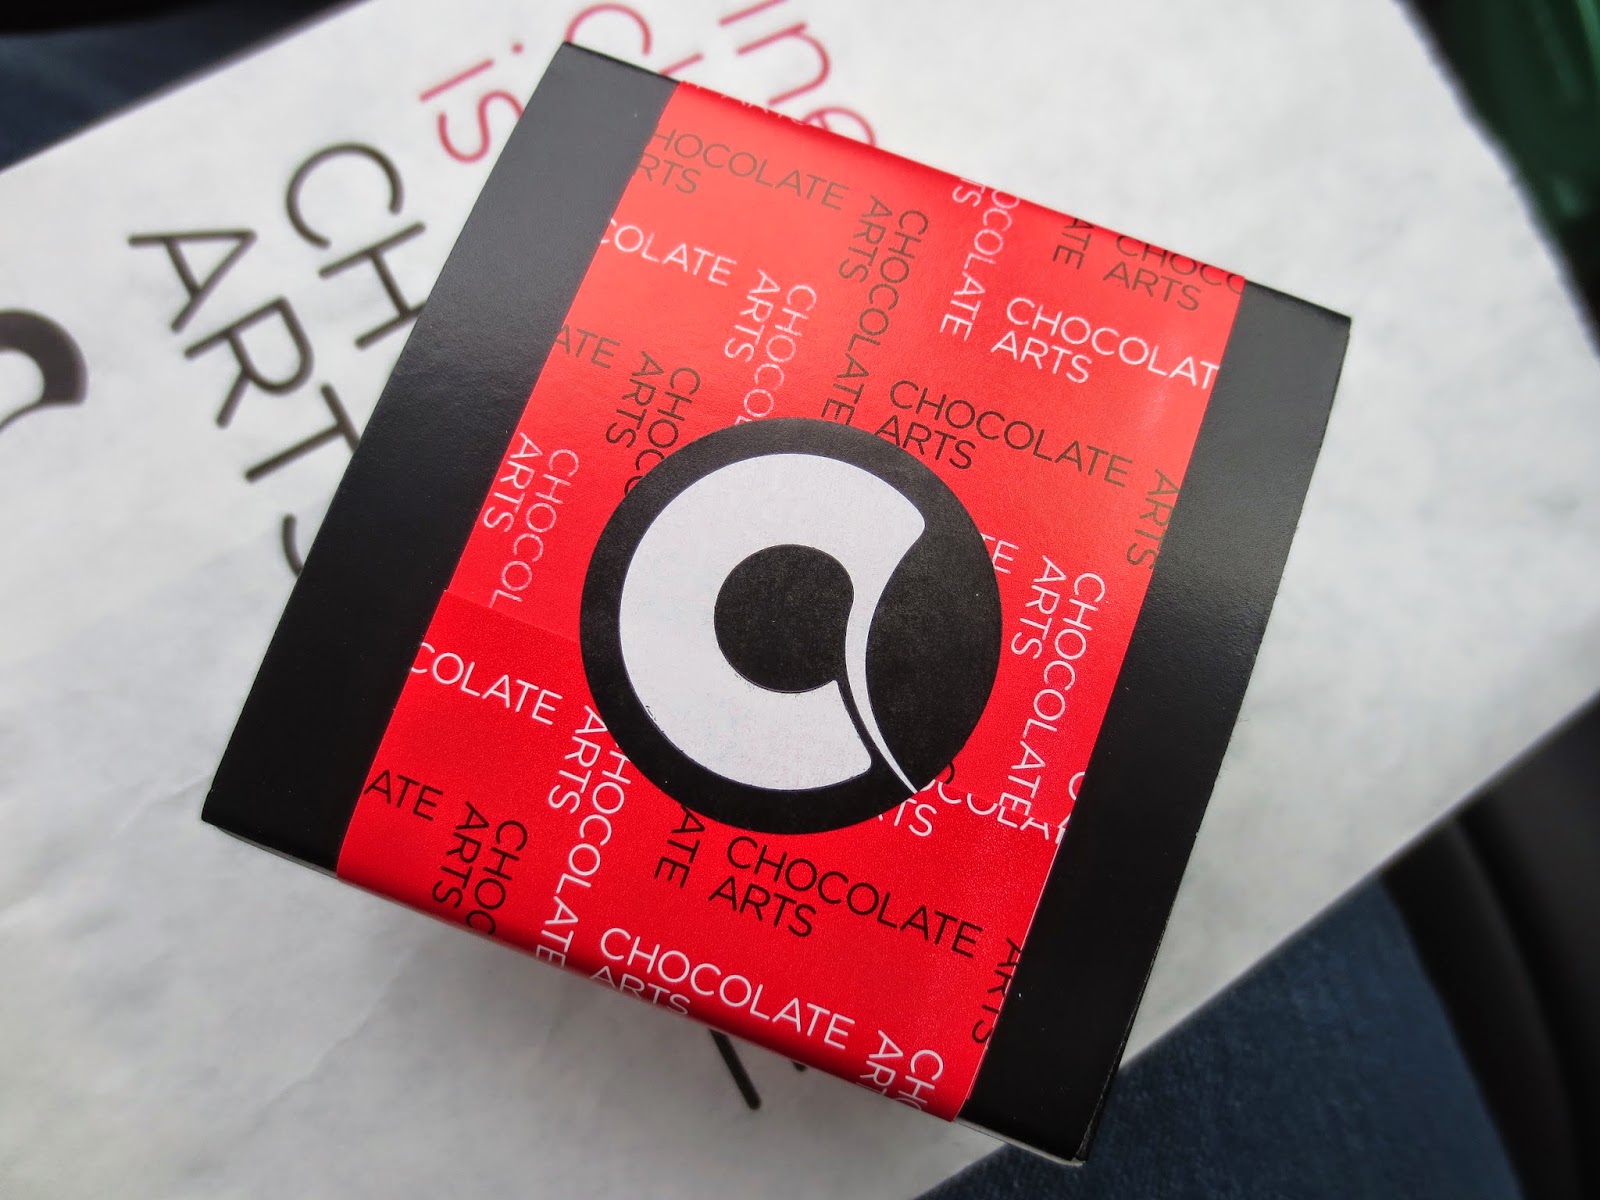
We had to try their chocolate as well so we got 6 pieces! 


The chocolate came in this simple black box & nestled in individual wrapping.


If you have been following me for awhile, you know that I am a matcha/green tea anything addict! I had to try their matcha leaf chocolate- so pretty!


Chocolate Arts's chocolates are very unique! Each had a rich chocolate taste, which is the star of the show. The different flavours in the chocolate tasted like hints instead of a equal balance with the chocolate. If you love more chocolate taste, than you will love these chocolate pieces!


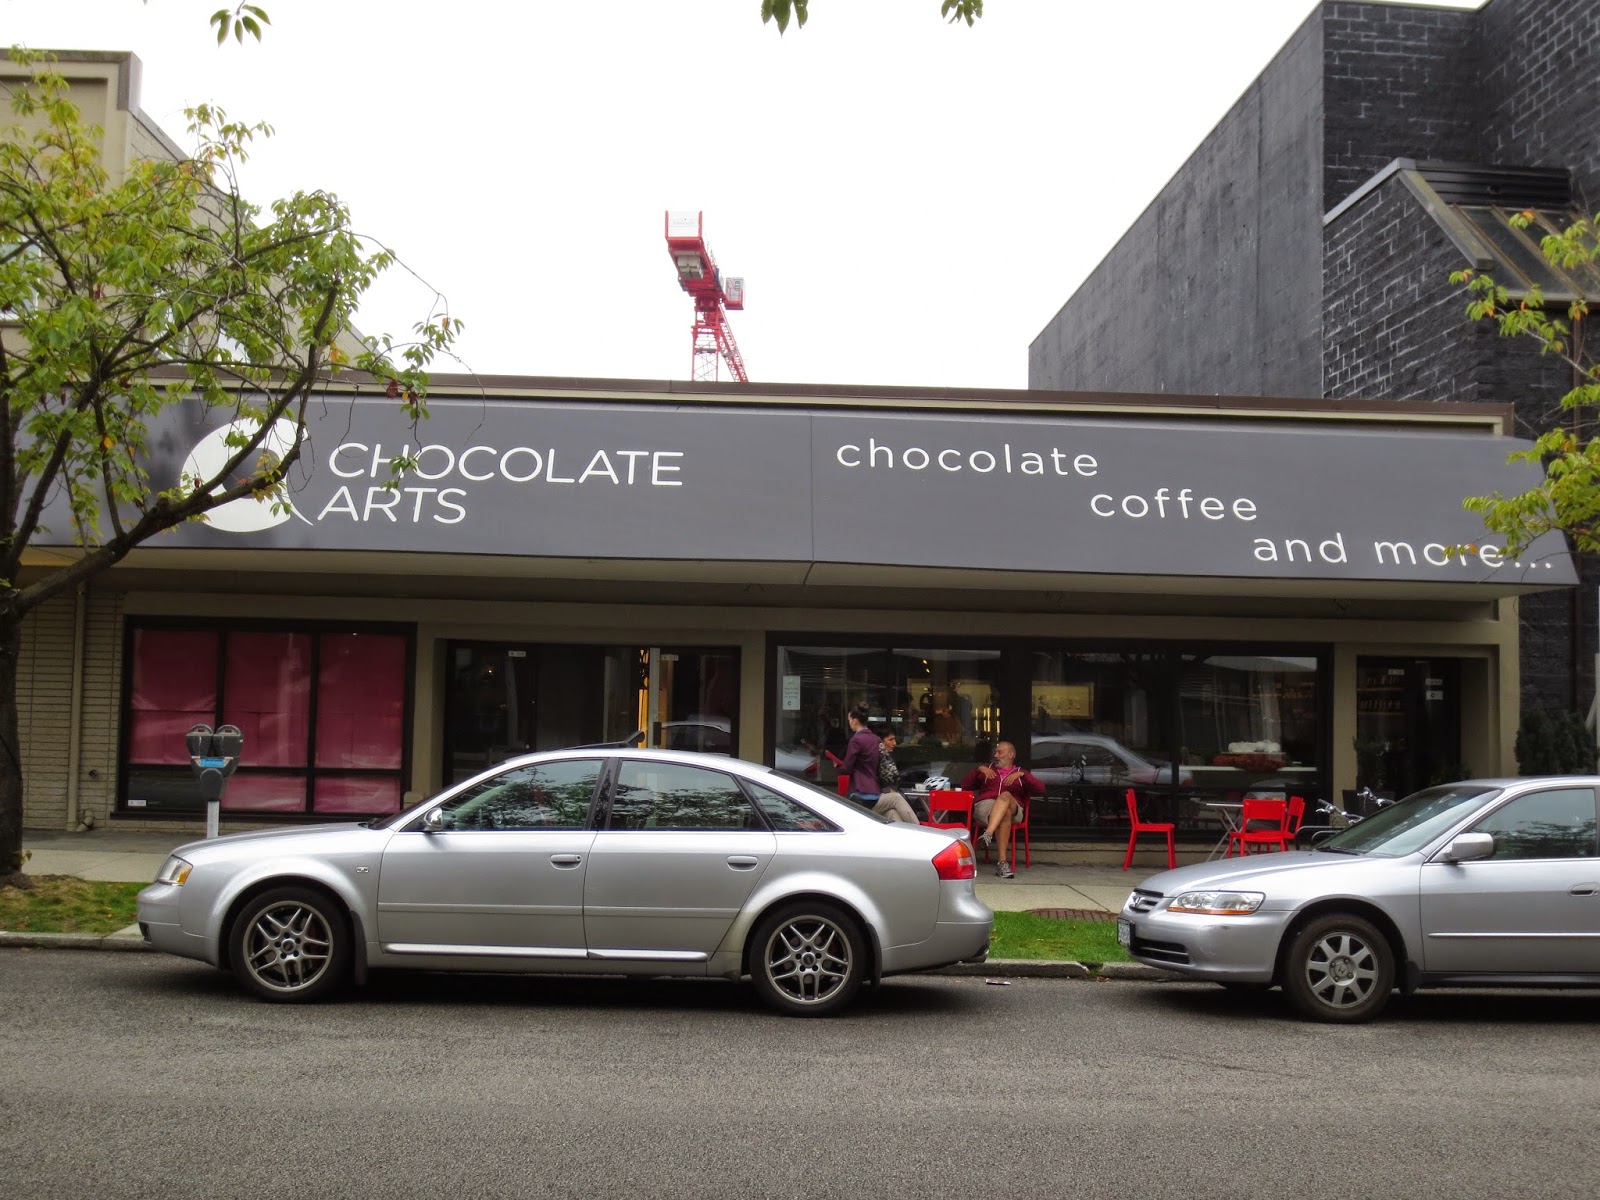
I love the clean simplicity of how the store/restaurant/cafe looks like. The pops of red makes it super modern as well! Perfect for a quick lunch, date, business meeting or just a casual stop. Chocolate lovers, definitely check out Chocolate Arts if you want to expand your palette on different chocolate taste!

Thank you so much for reading & wishing you an amazing weekend!!

Love, Linda


Chocolate Arts
1620 West 3rd Ave.
Vancouver, BC
(604) 739- 0475


Sunday 21 September 2014

Annie's Way Arbutin + Hyaluronic Acid Brighting Jelly Mask Review


Hi Darlings! If you guys have been following me for awhile, you know that I love my paper masks. When YesStyle gave me the opportunity to try out one of their Annie's Way "Jelly Mask" I was so incredibly excited to do so!! Never tried a jelly mask before, have you?? ^___^


On YesStyle's website this mask is $24.90. 

Product claims are:
- whitening
- moisturizing
- minimizes fine lines
- leaves skin radiantly bright
- suitable for dark & dry skin


Came with a cute & informative box around the mask!


There are 6 jelly masks in the collection:

- Arbutin + Hyaluronic Acid Brighting (the one I am reviewing)
- Aloe Moisturizing
- Q10 Anti-Aging
- Lavender Relaxing
- Honey Deep Moisturizing
- Italy Red Wine (ohh la la!)


When you purchase any of the Annie's Way Jelly Mask on YesStyle, you will receive a free spatula to help you apply & remove the mask.


Has Annie's Way logo on it as well. Pretty pink butterfly!


The spatula is a must when applying & removing the jelly mask. It is made out of a flexible plastic with the slightest curve to the "spoon/spatula" area.


How to use the jelly mask:

1) Cleanse face
2) Apply toner as base
3) Apply jelly mask evenly w/ spatula about 0.3-0.5 cm thickness


4) After 30-40 mins. remove the jelly mask w/ the spatula by scraping gently & wipe off spatula w/ tissue
5) Rinse face with water & apply moisturizer and what you usually use
6) Use 2X per week or as needed.


The packaging of the jelly mask is very simple and clean. It comes in a clear, sturdy plastic jar, with the Annie's Way butterfly logo imprinted on the twist cap. 


On the back of the jar, it shows you the ingredients & instructions of use.


The mask also came with this awesome sticker! When you peel it off and open the mask it has the word "void" on the jar so that you cannot return or resell once it has been opened. Genius!


There is a plastic seal that completely covers the jelly mask to protect it. Also, there is 250ml of product so it is a pretty decent amount in there! The texture of the jelly mask is pretty much like a softer version of jello or a gel texture. Spreads effortlessly onto the face as well & no significant scent, just a clean smell.


After trying & testing out this mask for about a week, I can definitely say that IT'S THE BEST THING EVER!! I love how easy & fun it is to use. As soon as I apply the jelly mask to my face, I love that immediate cooling sensation is gives to my skin. It feels so nice, refreshing and oh so relaxing! After removing the mask, it left my skin looking so bright, radiant & gorgeous! My skin looked like it had a healthy glow to it. My pores looked minimized & the mask removed a bit of my blackheads around my nose area. It was not a lifesaver to remove your blackheads but it did minimize the look of my pores.  Also, the jelly mask was very gentle on my skin, it did not irritate it at all. 

Overall, I am completely obsessed with the Annie's Way Arbutin + Hyaluronic Acid Brighting Jelly Mask. It left my skin looking pretty amazing! So bright, soft, moisturized & supple! I would highly recommend this to everyone who's skin is dull & tired looking & just needs that extra boost and lift! IT'S AMAZING.

I hope this review & demo was helpful to you. As always, thank you so much for reading! Have a fantastic day!!

Love, Linda


PS: Thank you so much to YesStyle for providing me with the Annie's Way Jelly Mask to review for you all!

Annie's Way Arbutin + Hyaluronic Acid Brighting Jelly Mask: http://bit.ly/1v6Ghg1
Annie's Way Jelly Masks: http://bit.ly/1wWVzIm


Watch my full review & demo here:


Thursday 18 September 2014

NEW Rimmel Scandaleyes Rockin' Curves Mascara Review


Hi Loves! You guys all probably know by now that I am OBSESSED with mascaras. I was quite intrigued when I saw the "broken heart brush" on this mascara so I had to try & review it for you all!


I purchased mine for $4.99 CAD at Superstore.


The bottom half of the mascara tube has a very unique snakeskin texture feel & is quite chunky. Definitely gives it that rocker-cool factor!


The brush is a broken heart or "s-shape" type & it has hard bristles w/ a bendy metal center (if you wanted to twist the shape a bit). The formula is in between a wet & dry.


When I first tried this mascara, I really had to get use to the shape of it. Shortly after using it a few times, I quickly discovered the best way to use it. Basically, if you want a non-clumpy finish than use the almond side of the brush against your eyes. I find that it fits perfectly to your eye shape much better than using the other side. 

So what do I think of this mascara?? It was a pretty average, okay one! Yes, the pointed tip made it easier to apply to the inner corners of the eyes & hard to reach lashes. It did provide a good amount of volume but not something for me to get excited about. Using it properly, my lashes separated nicely & no clumps. This mascara didn't give me any length to my lashes or hold my curl. However, it did not flake on me (did smudge a bit on lower lashes) & was a breeze to remove at the end of the day. 

Overall, I don't think it's a mascara you need to run out & buy but if your interested in unique & new mascaras than go for it!

I hope this review was helpful to you. As always, thank you so much for reading!

Love, Linda


Watch my full review + demo here:

Monday 15 September 2014

Vampy Ombre Red Lips Tutorial


Hi Loves! This vampy, dark ombre  red lip is perfect for Fall/Winter! It looks ultra sexy & mysterious. It will also go perfectly with sweater weather as well!


To create this lip look, all you need is 2 items: a black creamy eye liner & a red lipstick of your choice. Use a lighter shade of red if you want the ombre effect to be more noticeable. I chose to use a darker red to have more of a vampy look.

1st step- line your lips with the black eye liner
2nd- shade the outer corners of your lips, make a triangle shape at each of the 4 corners
3rd- shade the center of your bottom lined lips
4th- apply your red lipstick
5th- TADA! You should have beautiful "Vampy Ombre Red Lips"

Hope you enjoy this simple & easy tutorial! Thank you so much for reading!! MMMUAH.

Love, Linda


Watch the full tutorial here:


Items mentioned:
Rimmel scandaleyes waterproof kohl kajal eye liner, 001 black
Rimmel lasting finish by Kate lipstick, 11


Friday 12 September 2014

Foodie Friday: Afghan Chopan


Happy Friday! It was my 1st time dining at a Afghan restaurant so today's Foodie Friday is an exciting one! Let's go to Afghan Chopan below!!


When you enter the restaurant, it immediately feels super authentic inside. There are booths, tables or a stage like floor seating. Of course, I wanted the real deal experience so I went for the floor seating. There were big plush pillows to add comfort to sitting on the floor so I loved that!


Have to remove your shoes first!


The walls at Afghan Chopan was filled with very intricate and detailed carpets & paintings.


For drinks, my family & I ordered "Dough", which is a yogurt drink filled with cucumber, mint & salt- which gave it that salty taste at the end of each sip!


Definitely a very unique drink. I would recommend you drinking this during the meal if you are not wanting it to taste super salty just by itself.


My family & I ordered the "Chef's Special Combo" which serves 6-8. We chose "Mantu" as our appetizers. THIS STUFF IS SO GOOD!! Like a burrito good! Mantu is a steamed dumpling filled with fresh ground beef, onions & spices and topped with a variety of sauces. 


Fresh baked naan & 3 vegetable dishes: spinach, chickpeas & eggplant. All had delicious flavour & went perfectly dipped or wrapped with the naan bread.


When the meat platter arrived, I was shocked at how HUGE this thing was! The variety consisted of, tekka kababs (beef tenderloin), chicken kebabs, shami kebabs (ground beef), chopan kebabs (lamb) & chaplee kebabs (round pieces of marinated ground beef). Also, in the center was a pile of salad! All the meats were so yummy & tasty!


2 chutney sauces: mint jalapeno & yogurt. Super delicious with the meats & naan bread.


Finally, we also got a big plateful of long grain rice that was filled with carrots & raisins. The raisins gave a sweetness to the entire meal, which I really liked!

My family & I were completely stuffed by the end of the meal. I can finally say that I have had Afghan food & I HIGHLY RECOMMEND everyone to try it!! It is so good & I am craving it again as I am writing this post hehe.

Thank you so much for reading, have a wonderful weekend loves!

Love, Linda


Afghan Chopan
12888 80th Ave.
Surrey, BC
(604) 543-2385